Special Effects in Japanese Prints
By Allison Brewer, Josephine Jenks, and Cyntia Karnes, paper conservators
May 16, 2024
A magnified detail (20x) of furikake
Woodblock printmaking in Japan spanned centuries of cultural transformation, and, throughout, artists continued to embellish and heighten their designs through special printing techniques. Here, we look at some of the ways Japanese printmakers created exquisite effects of color, texture, and shine.
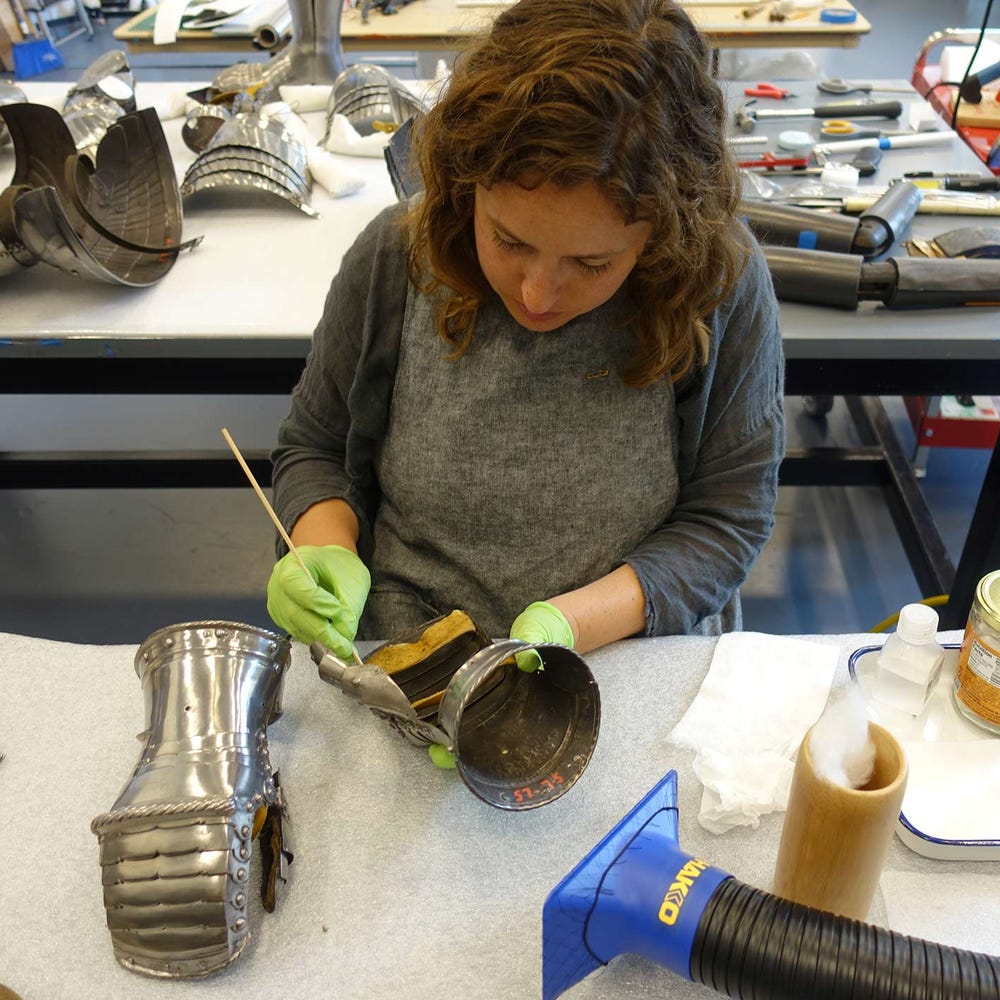
Japanese prints are made by transferring ink to paper from a design cut into a cherrywood block. The carver cuts away areas that will be left blank in the print. The raised parts of the block are inked and printed using pressure from a flat, circular tool called a baren. Each ink color, made with pigments or dyes bound in starch paste, is printed from a separate block. Traditional Japanese prints were made layer by layer, sometimes with dozens of blocks. Each block had to be printed in perfect alignment. Special printing techniques showcase the creativity and care that the artist, block cutter, printer, and publisher put into each individual print.
Josephine Jenks, paper conservation graduate intern, carving a woodblock
Color transitions
One of the most common effects seen in Japanese prints is subtle gradation of one or more colors, a technique known as bokashi. This is often used with blue ink to create horizons of sea or sky, as well as many other atmospheric and dramatic effects.
Hiroshige III, View of Tokyo with a Picture of the Railroad at Takanawa, ca. 1875. Color woodblock print (triptych), 35 x 71.8 cm (13 ¾ x 28 ¼ in.). Fine Arts Museums of San Francisco, Museum purchase, Achenbach Foundation for Graphic Arts Endowment Fund, 1969.32.23
A magnified image (20x) of bokashi in the sky
To make a blended transition, the block carver would shave down the woodblock into a smooth, gradual slope. The crest of the slope made for better contact with the paper and better ink transfer during printing. Less pressure — and less ink transfer — occurred in recessed areas. Other methods for graduated or blended colors were the product of strategic inking, brushing, and wiping by the printer, as well as adding water to the printing block or ink.
Line and texture
Another way to add depth and dimension to a print was to impress lines and patterns into damp paper without using ink, a technique known as karazuri, or blind embossing.
Magnified detail of karazuri (20x)
Magnified detail of nunomezuri (30x)
Artist Kitagawa Utamaro (ca. 1754–1806) used embossing to enhance facial features, but it was most frequently used to create patterns in clothing or add texture to flora, feathers, and fur. A variation of the technique, nunomezuri, used coarsely woven cloth glued to the woodblock to impress real weave patterns into the print. A reverse embossing technique, known as kimedashi, was made by pressing the surface of a dried print into a depression in the block to create softly raised or puffy shapes. Texture could also be added by sprinkling pigment or metallic powders or flakes. To depict falling snow, for example, white pigment made from finely ground shells could be thickened with glue and spattered over a print. This is a technique known as furikake. These effects had to be applied as the last step in the printing process, because further pressure would flatten embossed lines or raised areas.
A magnified detail (20x) of furikake
Sparkle and shine
While bokashi, karazuri, kimedashi, and furikake added a sense of depth and texture to a print, other techniques centered on sparkle and shine. One method involved a coating of animal glue brushed onto the print to saturate the color and add gloss. This created a particularly gory effect in depictions of pooled blood.
Tsukioka Yoshitoshi, Inada Kyûzô Shinsuke murders the kitchen maid suspended from a rope, 1867. Color woodblock print with lacquer, 34.9 x 24.1 cm (13 ¾ x 9 ½ in.). Fine Arts Museums of San Francisco, Museum purchase, Achenbach Foundation for Graphic Arts Endowment Fund, 1986.1.86
Detail (20x) showing the animal glue coating over red ink to create a shiny pool of blood
Overprinting with animal glue or mixing it into ink would produce a softer sheen under the pressure of a baren, but a hard shine could be achieved by polishing the surface with a smooth boar’s tooth. This step is known as shomenzuri, or “front printing,” and can often be observed in clothing patterns, such as depictions of silk brocades. Polishing flattened the surface of the paper fibers so they reflected light, while non-polished areas diffused light.
Konishi Hirosada, Ichikawa Ebizo as the ghost of Natora in the play Hana Kurabe Ise Monogatari at the Naka Theater in Osaka, 1849. Color woodblock print, 24.8 x 53.5 cm (9 3/4 x 21 1/16 in.). Fine Arts Museums of San Francisco, Gift of Hilarie Faberman in honor of Professor William Eddelman, 2021.59
Burnished fibers of shomenzuri (top, 100x) are flattened and reflective under magnification
Shomenzuri next to furikake with brass powder (20x)
For more glittering effects, printers added ground mica, mother-of-pearl, or metal flakes and powders (usually brass or tin). These were brushed, blown, or sprinkled onto wet glue that was either printed from the block or brushed onto the print using a stencil.
Magnified image showing brass (50x)
Magnified image showing tin (50x)
Printing with mica, or kirazuri, took advantage of the mineral’s iridescence to depict elements like shimmering stars or the scales of a fish. In some cases, the mica was purely for graphic embellishment. Artist Toshusai Sharaku is famous for his portraits of Kabuki actors in which the entire background sparkles.
Toshusai Sharaku, The Actor Sakata Hangoro III as Fujikawa Mizuemon in the Play Hana ayame Bunroku Soga, Miyako Theater, from an untitled series of half-length portraits of actors, 1794. Color woodblock print with mica and lacquer, 37.3 x 25.1 cm (14 11/16 x 9 7/8 in.). Fine Arts Museums of San Francisco, Museum purchase, Achenbach Foundation for Graphic Arts Endowment Fund, 1967.22.10
Magnified mica particles (160x) show their characteristic flat, platelet-like shape and colorful iridescence
One of the most technically impressive techniques Japanese artists used were using chemical reactions to selectively darken a pigment called red lead. Lead pigments often darken when exposed to pollutants, specifically sulfides, in the atmosphere. It is a problem that spans cultures and centuries, afflicting not only Japanese prints but also Italian Renaissance drawings. Japanese printmakers, however, saw potential in this color shifting. Printers would apply acetic acid to select areas and then expose the print to sulfide vapors. The acid and sulfide may have come from kitchen items — rice vinegar and rotten eggs.
Magnified detail (20x) of intentional silvering
Magnified detail (20x) showing darkening of red lead
Special printing techniques, like bokashi, karazuri, kimedashi, shomenzuri, and kirazuri, demonstrate a refinement and attention to detail in printmaking that reached an apex in the Edo period (1603–1868) and continued into the Meiji era (1869–1912), despite significant changes in the way prints were collaboratively produced and published. Every blue sky, patterned kimono, and glinting samurai sword demanded attention from the artist, carver, printer, and publisher. Centuries later, these details offer us a glimpse into the hand of their makers.
See these techniques in Japanese Prints in Transition: From the Floating World to the Modern World and the accompanying exhibition Zuan-cho: Kimono Design in Modern Japan (1868–1912).


