de Youngsters Studio: Fruit Still Life Sculpture
By Jennie Smith, senior teaching artist
March 18, 2021
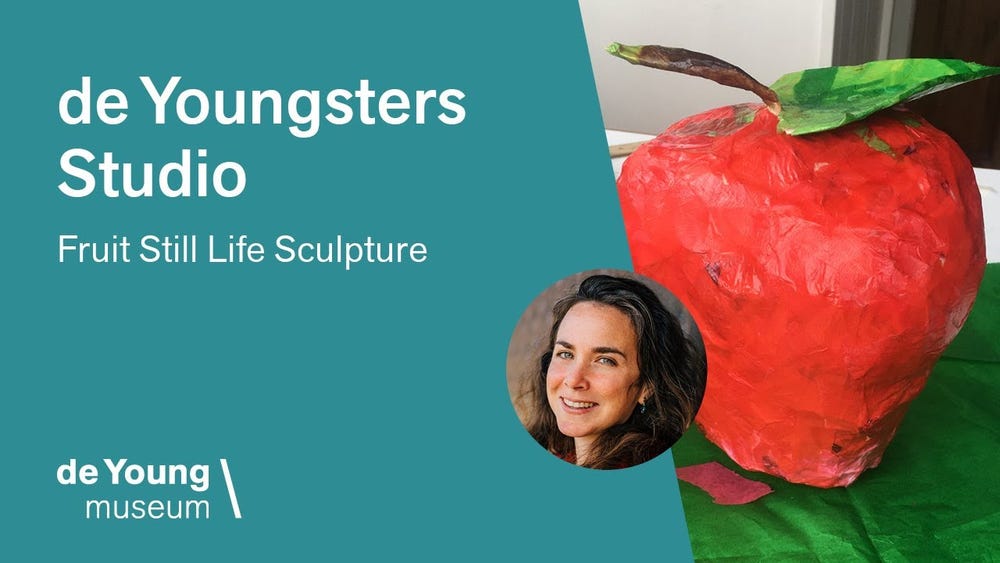
Inspired by Flora Mace and Joey Kirkpatrick’s Fruit Still Life (1997), study a still life and imagine you’ve been asked to add a piece of fruit to the composition! Using simple materials from home and a few different techniques, create a bigger-than-life fruit sculpture.
Materials
- Newspaper
- Masking tape
- Scissors
- Tissue paper
- Modge Podge or mixture of glue and a little water
- Container for glue mixture
- Large paintbrush
Questions to Consider
- What type of fruit will you create? How would you describe the shape of your chosen fruit?
- What kind of scale would you like to work with? In other words, is your fruit going to be twice the size of the actual fruit? Three times? Four times?!
- As you are sculpting, think about where you would add your fruit to Flora C. Mace’s and Joey Kirkpatrick’s Fruit Still Life. Where would you place it in order to maintain a sense of balance?
- Consider your color palette. What colors would you like your fruit to be? Your chosen colors could be realistic or imaginative.
Steps
1. Scrunch pieces of newspaper into the form of the fruit, using masking tape to keep it intact. For stems, you may want to tightly roll and tape the newspaper; for leaves, cut the leaf shape from a small stack of newspaper before taping. When you are sculpting your form, you can bunch, twist, and fold the newspaper to your preferred shape.
2. Make sure the entire surface of your fruit is smooth and covered with masking tape.
3. Choose a color palette for your fruit, including lighter colors to layer on top of darker colors. Tear your pieces of tissue paper to get ready to “paint” (cover) your fruit with.
4. Cover the surface of your fruit with multiple layers of tissue (or thin magazine) paper, adding glue mixture applied with a brush to keep your pieces in place. Make sure to paint a thin coat of glue mixture onto the final surface to give you sculpture a shiny texture, just like blown glass!
Reflect
After creating your sculpture, consider the following questions:
- What elements or steps did you most enjoy during the process?
- What did you discover about the material and process?
- What other materials have you used to create sculpture? How was this technique similar? How was it different?
Share
You can create more than one if you’d like. Share your sculpture with a friend or family member and explain how you created it! If your sculpture ends up looking so delicious that you just want to take a big bite, try to refrain! Find a place to display your fruit; it will be sure to brighten up the day. You can use the techniques we used today to create other objects as well.
We would love to see what you create! Email pictures of your artwork to families@famsf.org or tag us on any social platform with #deyoungsters.


