de Youngsters Art Party: Paper. Is. So. Not. Boring
By Raphael Noz, senior teaching artist
January 26, 2021
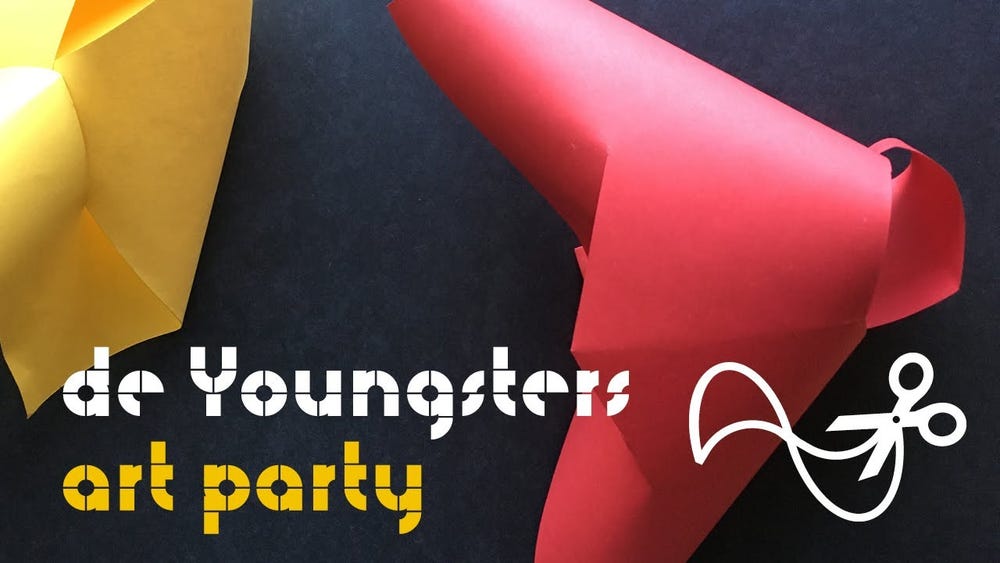
Explore forms the way artists do, by twisting a flat piece of paper into unexpected shapes. Get inspired by the work of Honda Syoryu, Ruth Asawa, and Herzog & de Meuron.
Materials
- Various papers, such as construction paper, watercolor paper, wax paper, or tissue paper
- Scissors
- Tape or glue
- Sturdy, thick backer board to protect the tabletop (cardboard or the back of a notepad works great)
- String (if you plan to hang up sculptures)
Questions to Consider
- Will you use a special color or printed paper?
- Can you let your hands twist the paper in unexpected shapes without folding the paper?
- Can you add cuts to a folded paper in unexpected places?
- Will you display your form on a surface or hang it from string?
Warm-Up Paper Experiment
To make a fringe roll:
- Start with a paper folded once, lengthwise.
- Holding the folded edge, cut thin, parallel cuts straight up toward the open end.
- Continue making cuts parallel to the first cut, up the entire length of the paper.
- Open the paper.
- Roll the paper so that the ends meet.
- Attach the ends with glue or tape.
To cut a mobile shape:
- Start with a twice-folded sheet of paper (square or rectangle).
- Hold the folded corner in one hand and cut a line starting from the bottom outer edge to the top, curving to follow the top edge.
- Stop cutting before cutting off the paper.
- Make a series of parallel cuts, each one successively smaller toward your holding hand.
- Carefully open your creation.
- Fold back alternating bands.
- Hang your creation using tape and string.
Steps
- Cut two slits in a sheet of paper.
- Take one corner and fit it into one of the slits without folding the paper.
- Tape or glue where the pulled corner touches the new spot on the paper surface.
- Bend the form to make another corner touch a new spot on the paper surface.
- Play with your new form, looking at it from all sides.
- Decide on a place to display your form.
- Decide if your form suggests a name or title that you like.
Reflect
After creating your creations, consider the following questions:
- What surprised you when looking at a creation from a different side?
- Where and how will you display your creations?
- How did you decide on names or titles for your creations?
Display Note
If you decide to hang some of your creations, be sure to ask for help and permission to tape or hang them up so they are most visible without being in the way. Putting names or titles next to the creations will help people better enjoy your art!
Share
We would love to see what you create! Tag us on any social media platform with #deyoungsters or email us your creations at specialevents@famsf.org.


