Vegetable Stamp Floral Art Making Inspired by Bouquets to Art
By Suzanne Couture
May 27, 2020
Collection Connection
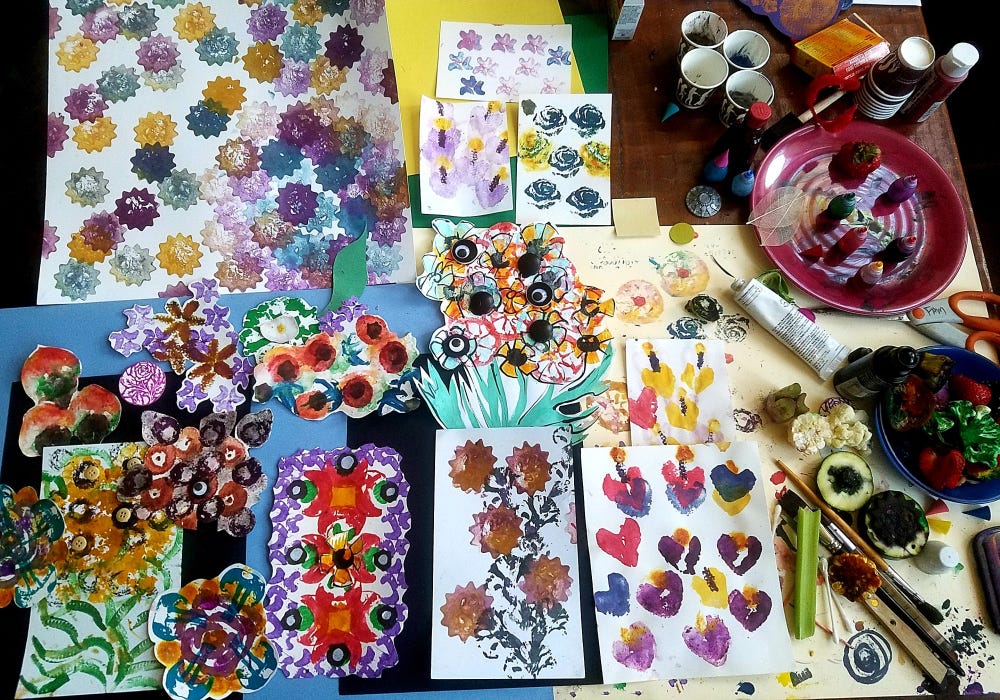
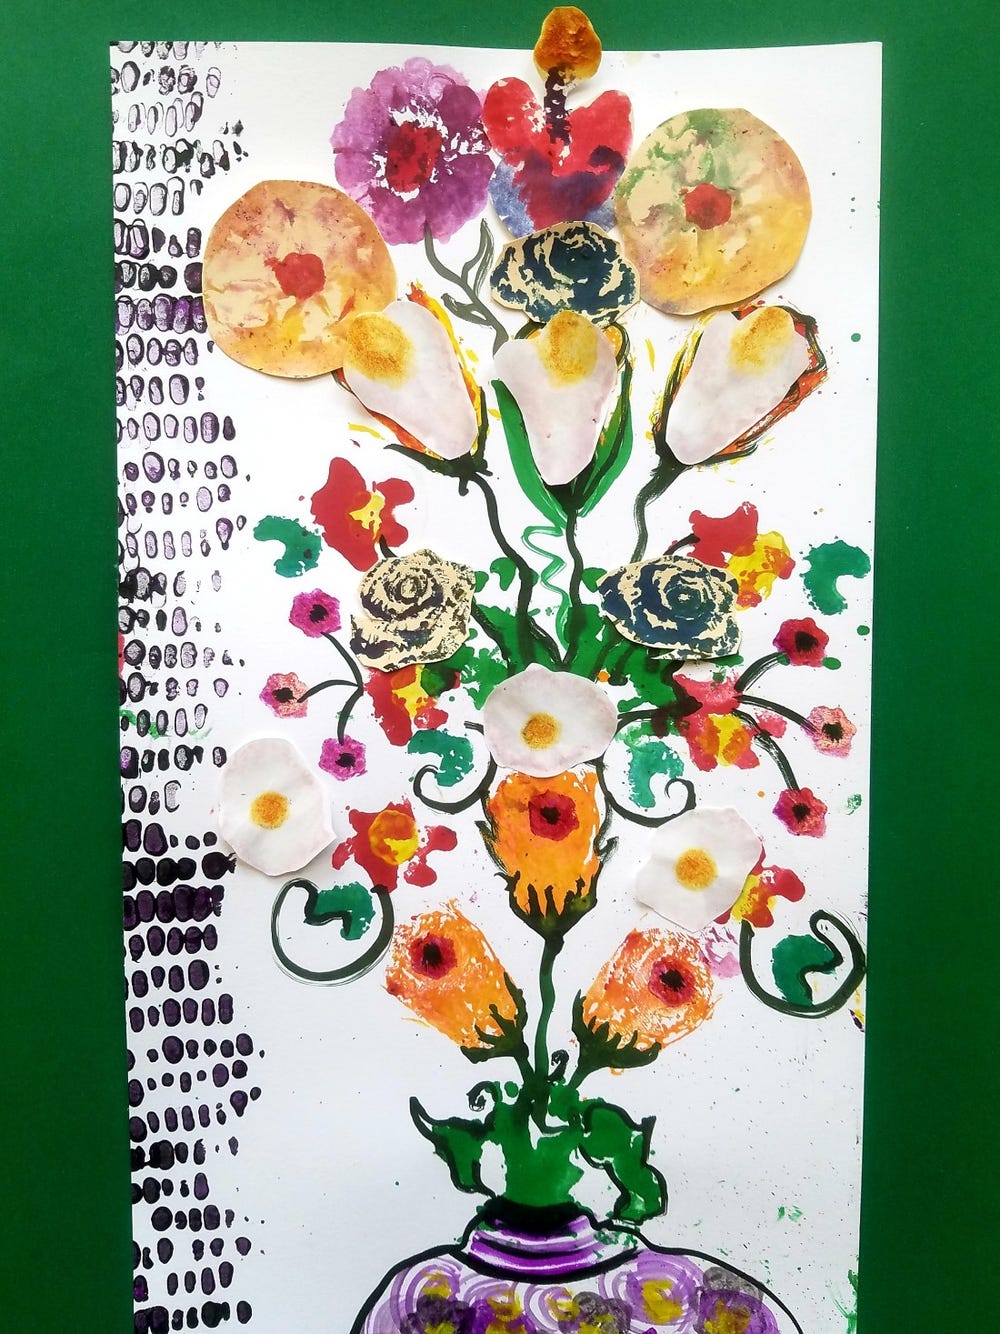
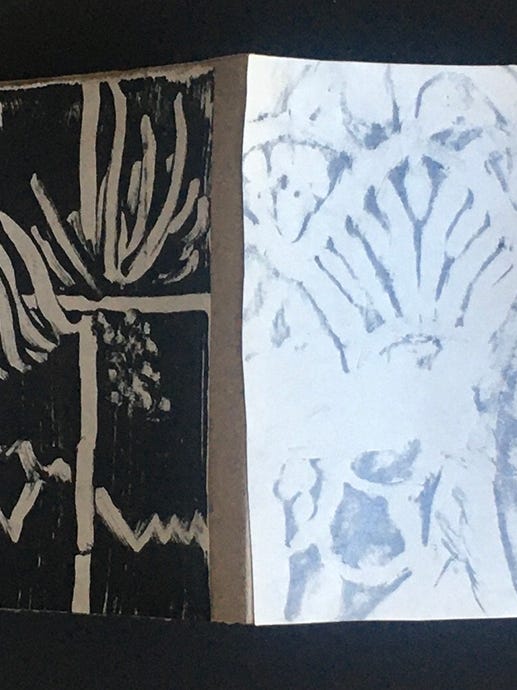
This project is inspired by the artistry of the floral arrangements on display at the de Young during Bouquets to Art. Revisit your favorite Bouquets to Art memories by creating impressions from fruits and vegetables that resemble the beautiful organic shapes of flowers.
Materials
- Table covering
- Paper
- Nonporous tray or cups
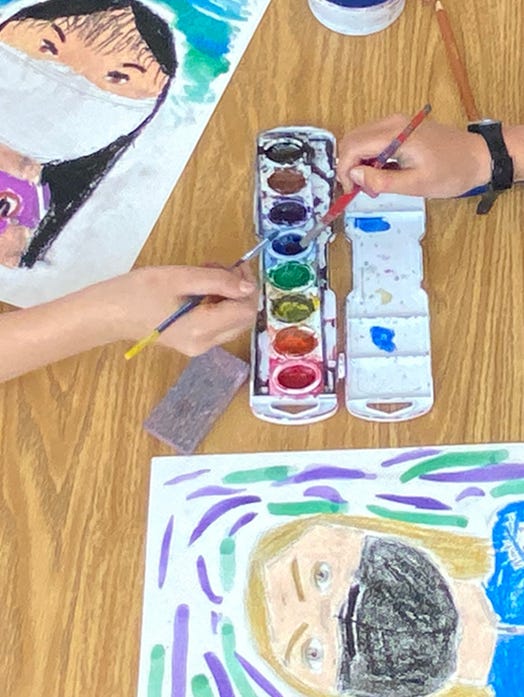
- Food coloring, watercolors or water-based paints, such as tempera
- Paintbrushes
- Paper towel
- Cutting tool, such as a paring knife
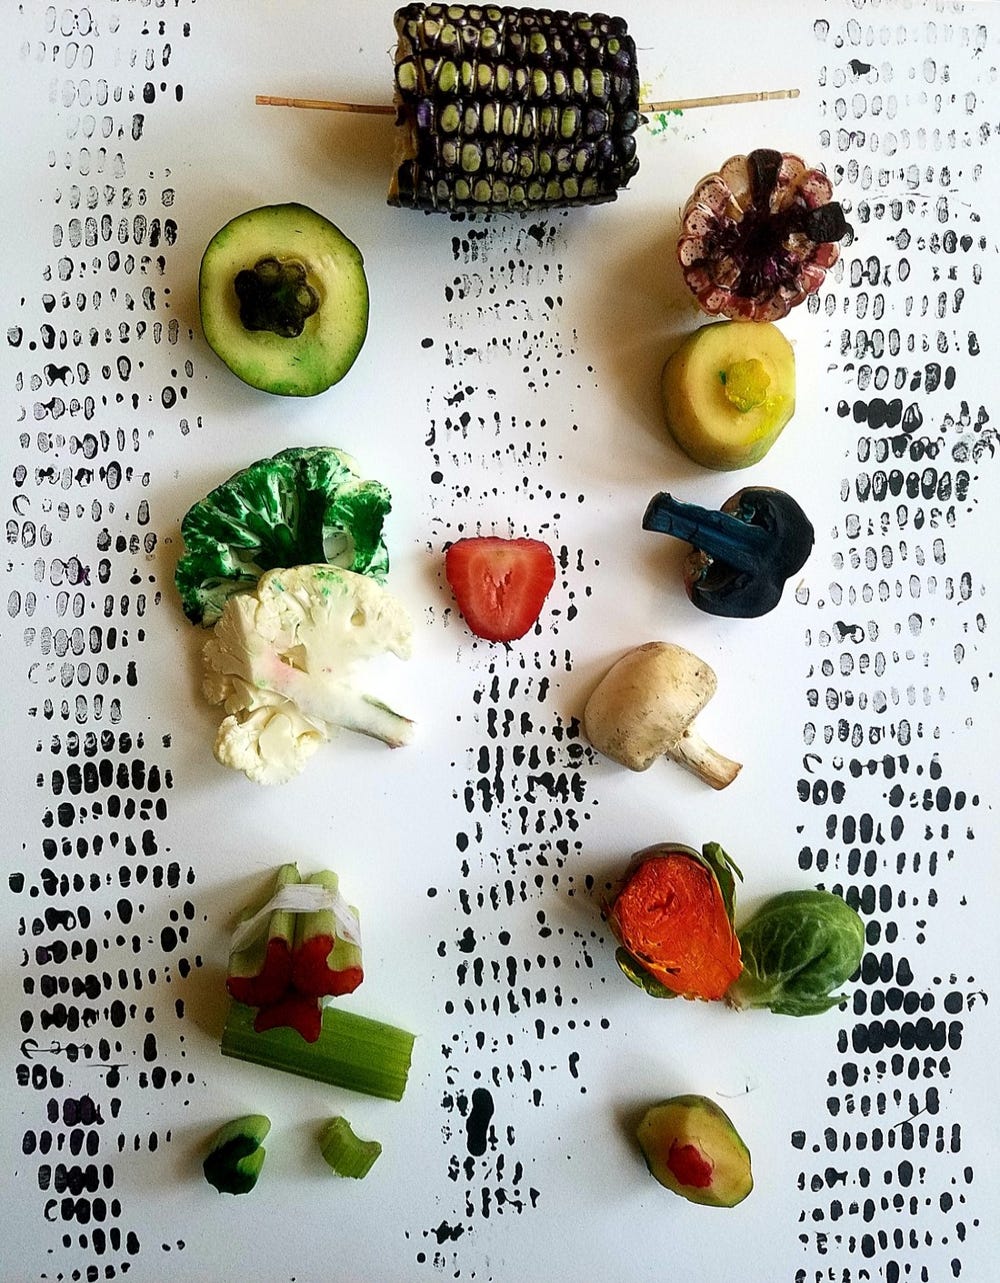
- Vegetables or fruit, such as celery, lettuce heads, corn on the cob, zucchini, potato, broccoli, cauliflower, lemon, strawberry, apple
- Toothpicks
- Small cookie cutters, cotton swabs, or markers (optional)
Question to Consider
When you look at the shapes of vegetables (or even fruits) from different angles, what flowers can you imagine?
Discover exciting possibilities we can find by cutting and sculpting a few stamp designs from vegetables around the house.
Steps
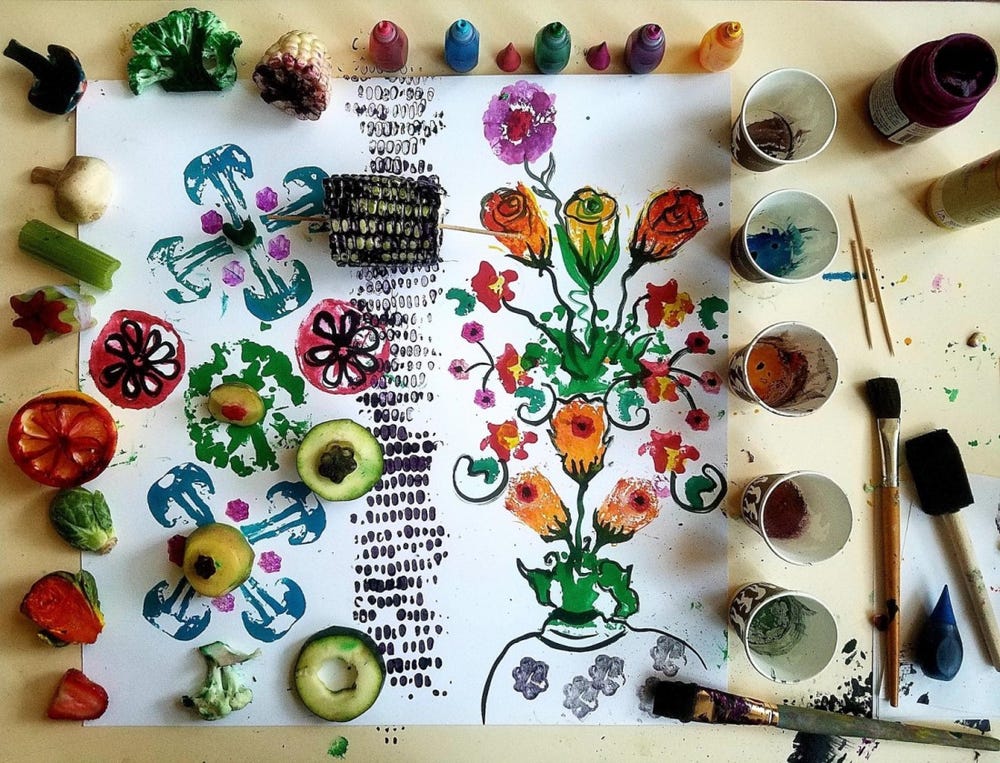
1. Lay down your table covering to protect your work surface. Arrange some test papers, a nonporous tray or cups for food coloring (or water-thinned paint like tempera) or watercolors, and some brushes for application.
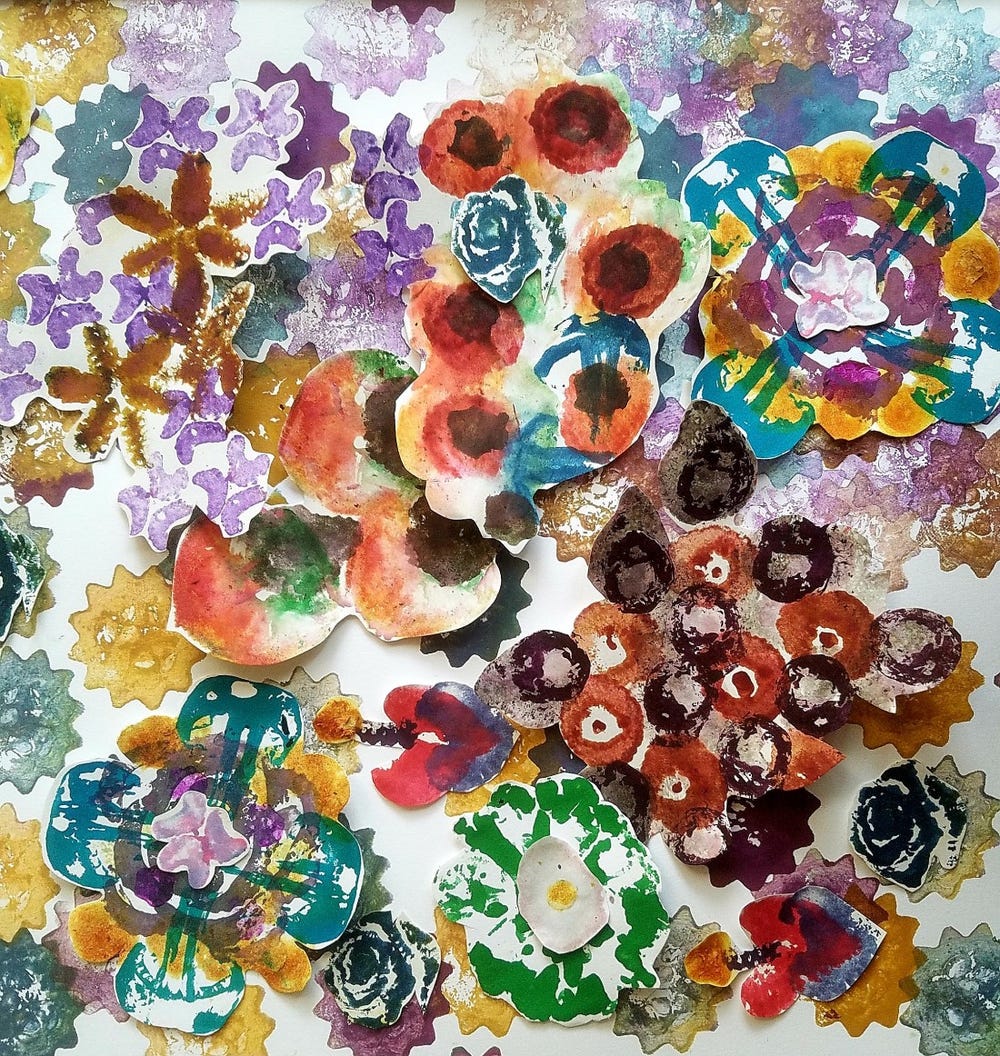
2. Cut some slices of vegetables (some thick enough to carve into shapes), apply toothpicks horizontally as holders, and experiment by brushing pigment on and stamping onto your paper. Some slices work great just as they are. Remember we are making “impressions” of an idea, so any beautiful flower you envision can work.
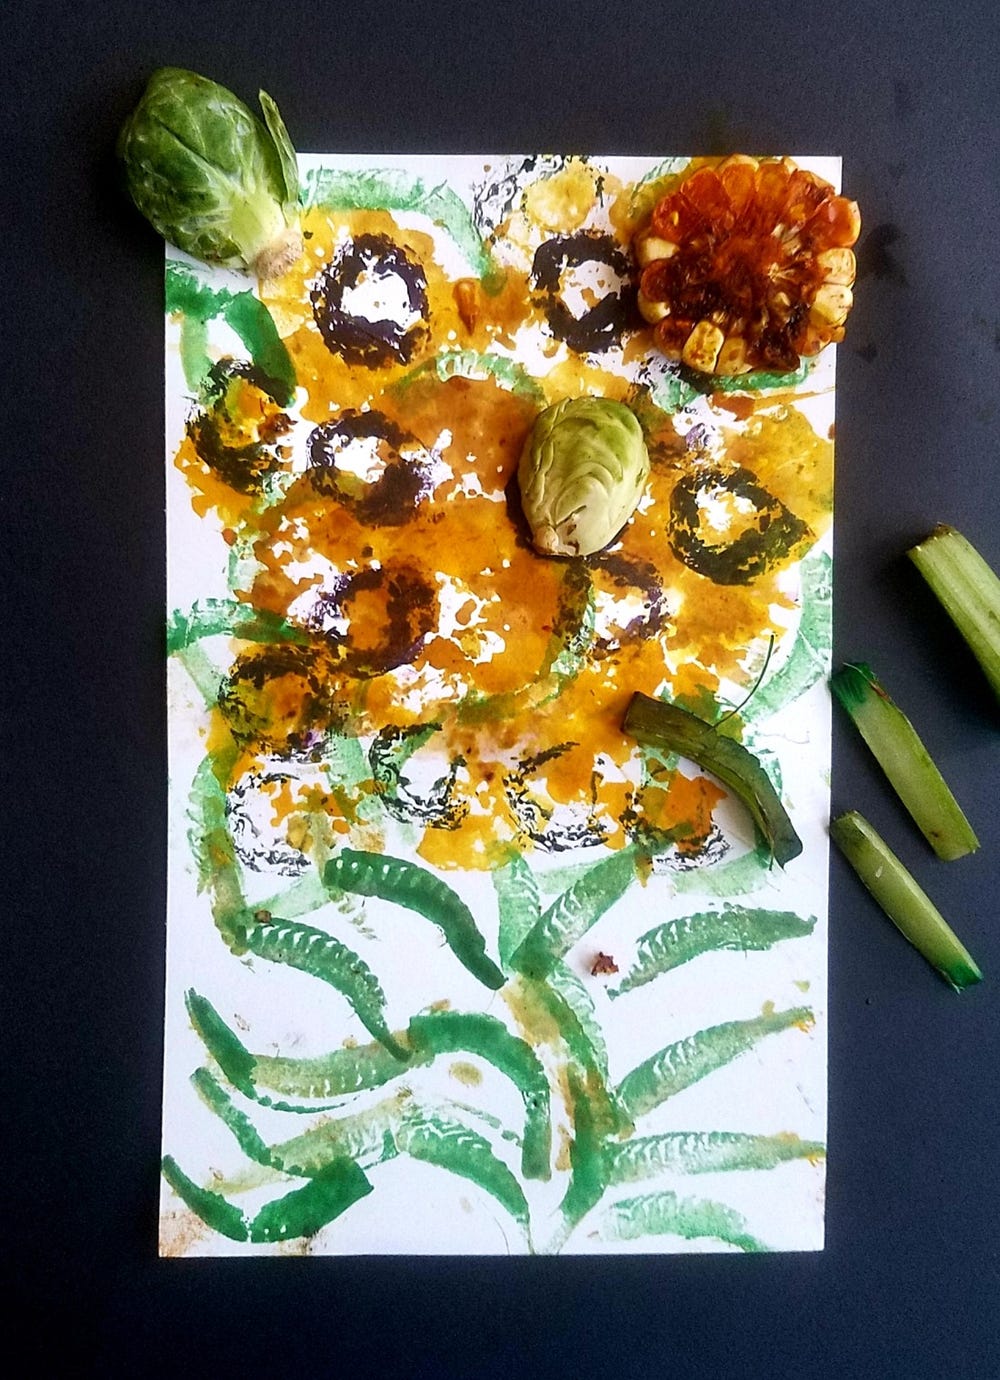
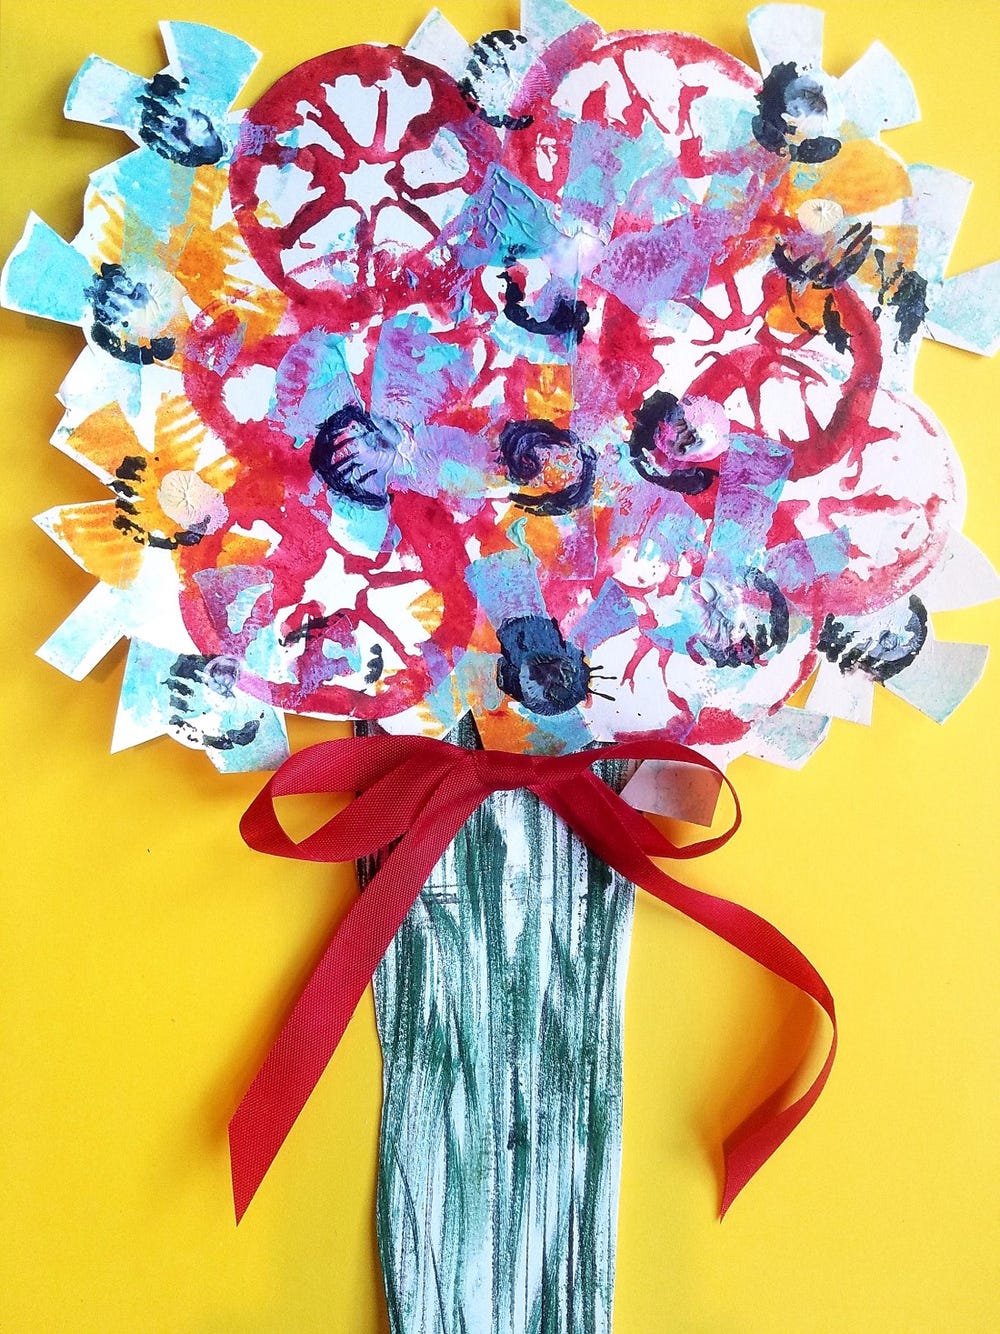
3. Try some circular patterns or repetitions to create a flower shape. You can bundle small celery stalks wrapped with tape for a violet or a lettuce end cut for a rose! For a rolling print using corn, for example, you can skewer some pieces with toothpicks on each side. A dense vegetable or fruit such as zucchini, potato or apple is best for carving shapes, using a knife or a small cookie cutter. Don’t forget to test out the ends of your vegetables to make prints.
4. To create a mixed bouquet, combine different flower designs/stamp patterns on a single page and cut out a vase from another color or type of paper. Another option is to cut each flower print out when dried and collage them together. You can use strips of celery, broccoli, or cauliflower to form natural-looking stems and leaves.
5. Store your used stamps in the refrigerator to save them for a second day. If they dry out a little, they might make a new design, or you can trim them back to freshen them.
6. If you would like to add other personal touches or details to your artwork, some ideas include adding color dots with a cotton swab, markers, or details using a smaller paintbrush. If you’d like to make your own dyes, we recommend beets, fresh turmeric, and red cabbage; instructions for making natural dyes are readily available online.
Reflect
After creating your bouquets, consider the following questions:
- What elements or steps did you enjoy during the process?
- What challenges did you experience?
- If you were going to do this project again, what vegetables or fruits would you like to try?
Share
Turn your artwork into a card to send to a friend. We would love to see what you make too, so please tag us on any social platform using the hashtag #BouquetstoArt.
Text by Suzanne Couture, senior teaching artist.
