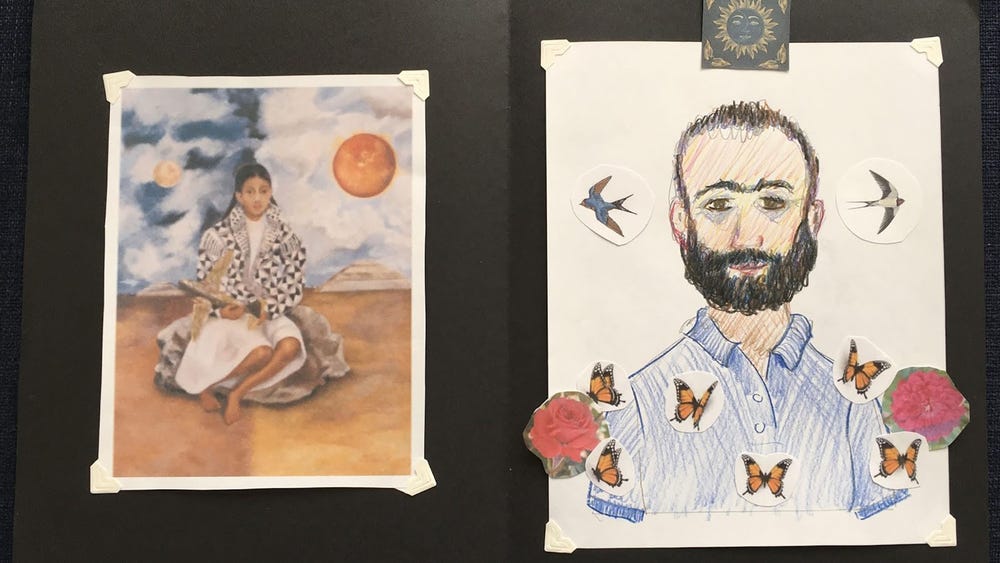
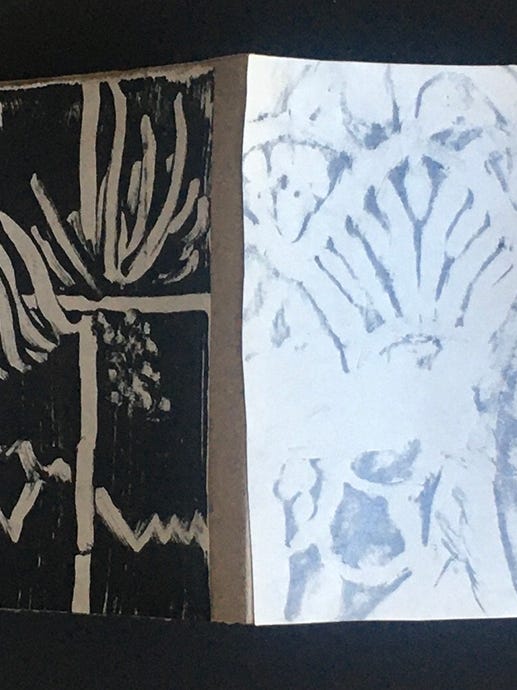
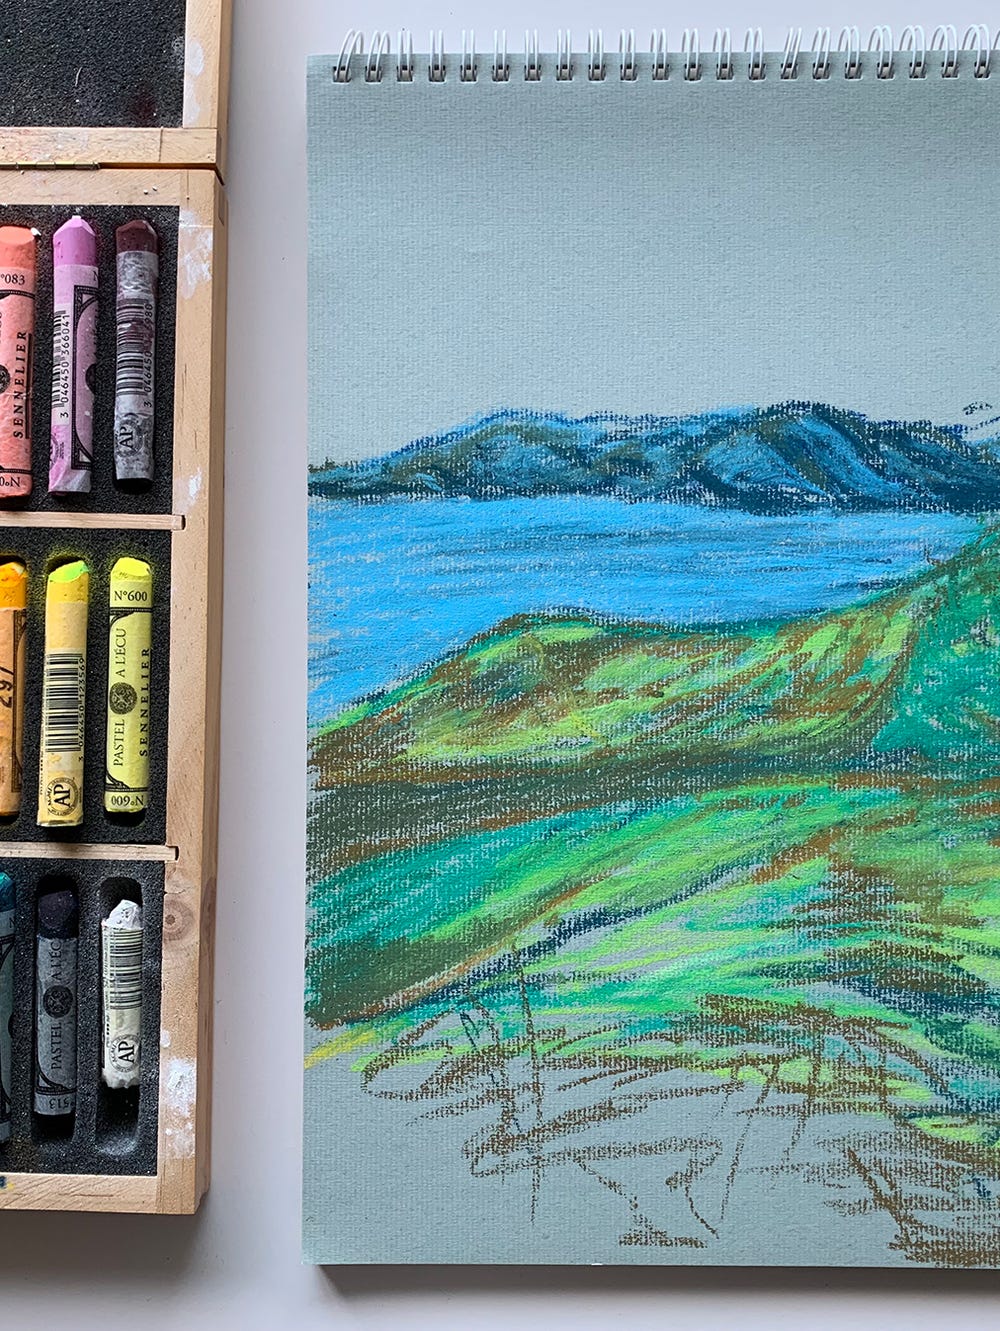
Frida Kahlo created and re-created herself through her personal style choices and self-portraits, which share her ideas about herself and her experiences in colorful symbolism.
In this activity we invite you to create your own self-portrait inspired by Kahlo’s symbolism and create an “album” of portraits either of you and Frida Kahlo, or of you and people you admire or who are with you at home. How can different personal objects, poses, and backgrounds express different parts of who you are as a person?
Materials
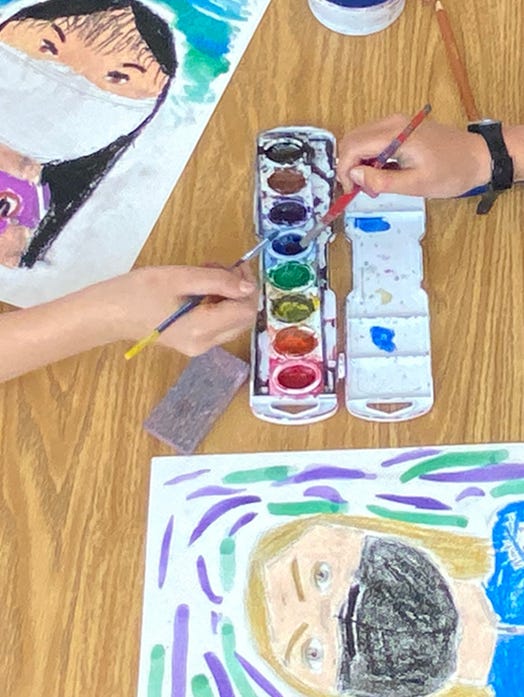
What you use can be as simple as a pencil or something else to make a mark with on paper, or as elaborate as a set of watercolors or paints. Mix it up and experiment with different materials, and be your own artist!
- Drawing paper, 8 1/2 x 11 in.
- Black construction paper, approximately 12 x 18 in. for the “album”
- 8 self-adhesive photo corners (see “Make a Photo Album” below for how you can make your own photo corners)
- A mirror to look at yourself (optional)
- Colored crayons, pencils, or pastels (optional)
- Watercolors (optional)
- White pencils or white crayon, pastel, or chalk (optional)
- An X-Acto knife (always have an adult help with this tool)
Getting started
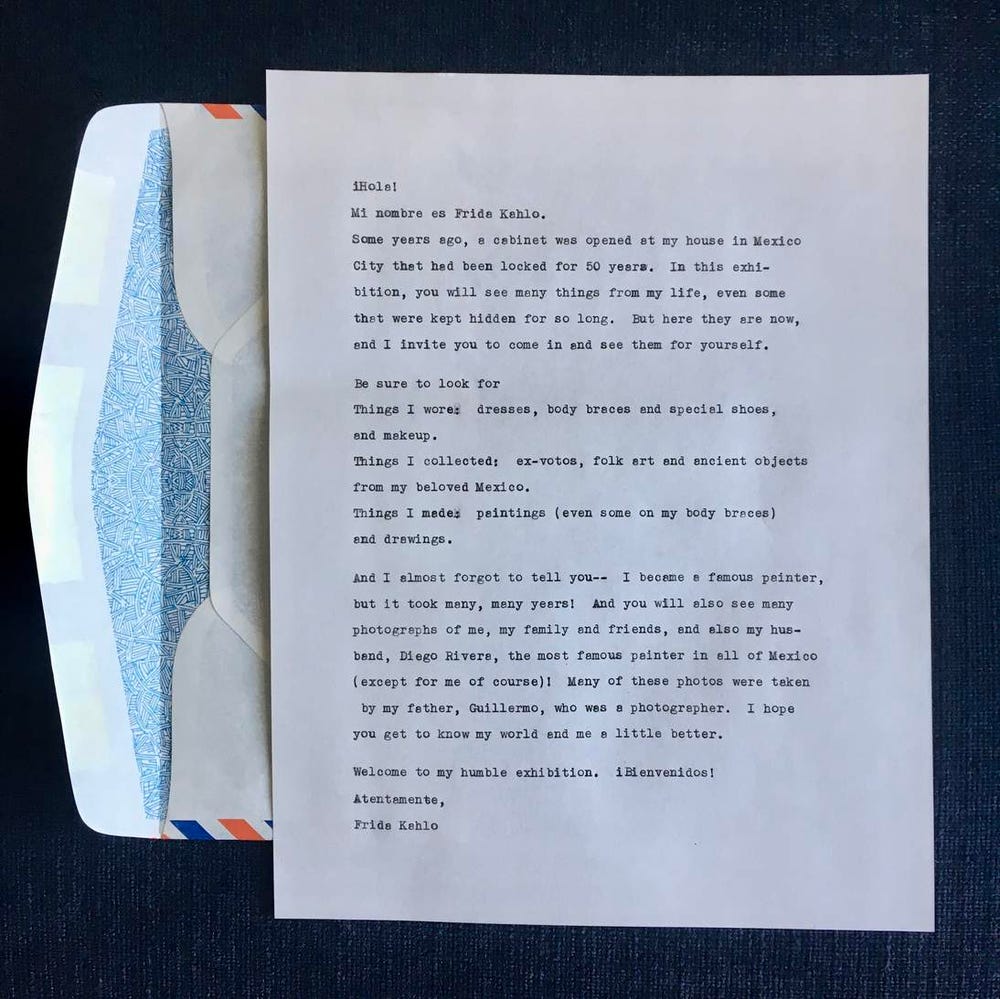
Read a “letter from Frida Kahlo.”
You can start this lesson by reading this imaginary letter from Frida Kahlo that explains what children will see in the exhibition. After reading the letter, ask, “What would you like to learn about the artist?”
Look at the pictures of Frida Kahlo.
Find one that shows the artist with a favorite object, in a favorite place, or out supporting an important cause. Look closely. What objects are shown? How is she posed? What is in the background? What do you think that expresses about her?
Discuss or reflect on what you might include in a self-portrait:
- A favorite toy or object representing a pastime
- An object symbolizing a cause you support
- A thing you like to collect
- A favorite outfit
- A favorite place, at home or beyond
Choose what you want to include.
When you make a self-portrait, the act of adding things that show what you like helps people understand who you are.
- How will you pose for the self-portrait?
- What objects will you include?
- What will be in the background?
- Where will you be? You can draw in the background, or cut out your portrait and paste it on a printed picture
Steps for drawing
Start with a light sketch.
Try to start lightly, with basic shapes. This way you can change things around if necessary.
Tip: younger children will just plunge right in. Adults, sit back, observe, and go with it! Have extra paper handy if you can. Afterward, you can have children cut out the parts of their picture and arrange them in a collage.
Background:
When creating your background, you can either draw or collage. Pick a background or objects that tell us something about you.
Make a photo album:
If you don’t have photo corners, you can follow the steps below for a similar effect.
- Fold your large black paper in half to make a book.
- Turn your black paper over and tape your portrait to the OPPOSITE side of the large paper (the left side).
