de Youngsters Studio: Get Out the Vote Postcard Printing
By Hannah Freeman, Senior Teaching Artist
October 16, 2020
Showing the inclusionary role art can play in political engagement, this project, inspired by Ben Shahn's We Want Peace, Register Vote, empowers children through involvement in your Get Out the Vote efforts. Led by curiosity and exploration, children are invited to discover and make printing tools, and consider the intersection of color and mark making.
Questions to Consider
What everyday objects can you find that will be good mark-making tools? Which do you think will work best and why? Try to imagine the marks each tool will make before you use them, now think about using the tool in a different way to make additional marks.
Materials
- Printing tools: a selection of things to print with, such as a cork, bottle top, toilet-paper-roll tube, fork, dry pasta, cotton swab, cardboard scraps, sticky-backed foam, etc.
- Glue, such as hot glue, glue stick (white glue can be used instead of hot glue, but you’ll need additional drying time)
- Scissors (an X-Acto knife is useful for cutting thick cardboard)
- Color paper, or paper from your recycling bin
- Paints or an ink pad
- Paper plate or plastic tray for mixing paints
- Paintbrush
- Water cup
- Spare paper for experimenting
- Paper towels for clean up
- Cardboard or old cereal boxes
- Ruler
- Pen or pencil
- Postage stamps!
Steps
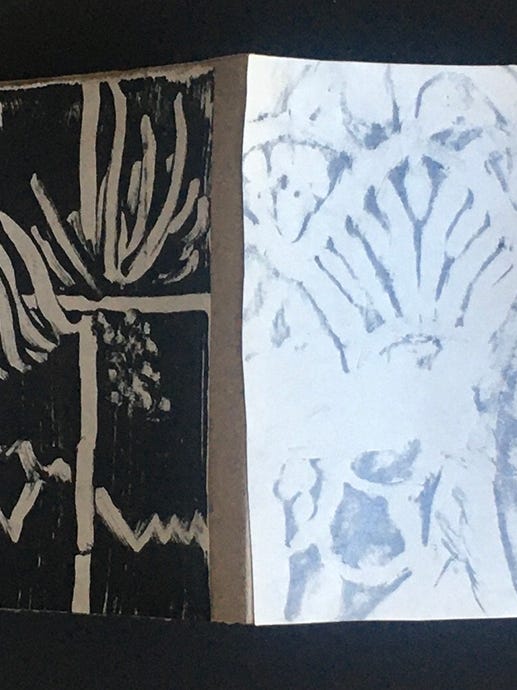
- Gather your printing tools and think about how you might use them to make varying print marks. Consider gluing some objects together to make printing stamps. For example, you could hot-glue pasta shapes together to print with several at once; hot-glue the end of a cork onto a bottle top, so the cork becomes the handle of a bottle top “stamp”; or cut sticky-backed foam shapes and stick onto cardboard to make stamps.
- Consider what combinations of color paper (or recycled paper), paints, and printing tools you want to begin with. (You may want to use one color per printing tool and fill the paper; you may want to use lots of printing tools with just one color at a time, then switch to another color and layer over the top; you may wish to use only one color paint and one tool per sheet of paper.)
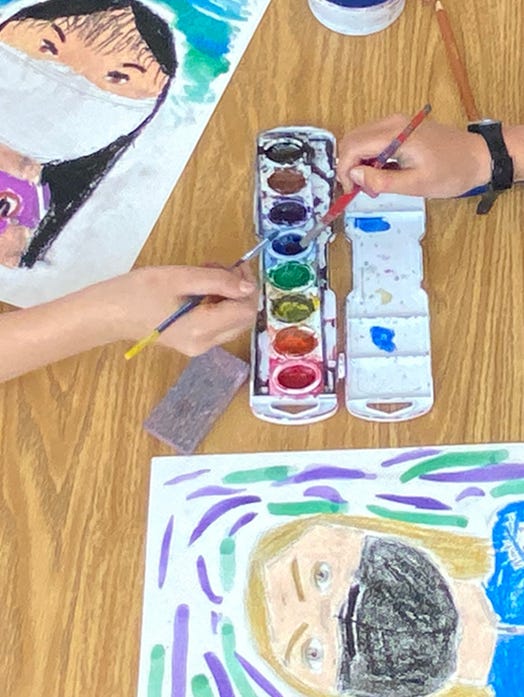
- Pour the paints onto a plate, consider mixing new colors, cleaning your brush in the water as you go. Experiment dipping the printing tool directly into the paint and printing, and painting the tool with a brush and printing; see which works best for which tool. Explore how many times you can print with a tool before you need more paint. Make as many decorated sheets of paper as you wish. These will be cut and stuck into postcards once the paint is dry.
- Alternative to paint: If you’re using an ink pad to stamp with, press your printing tool directly onto the ink pad. Experiment with how much ink to apply to get the marks you like.
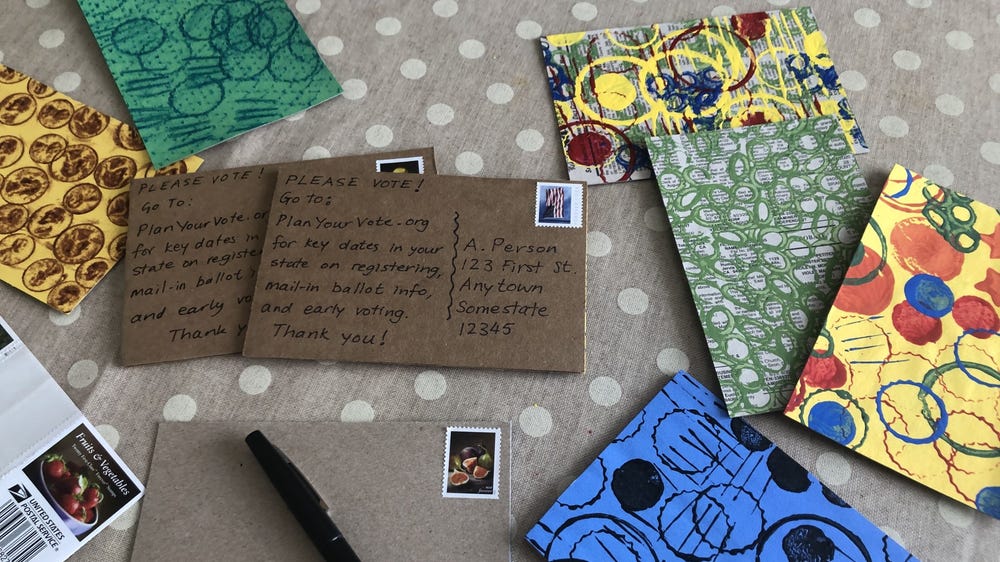
- Once the papers are decorated, use a ruler to measure, draw, and cut lines on the cardboard or cereal boxes to make 4- by 6-in. rectangles. These will be your postcards. Lay these out on the back of your decorated papers to see how many you can fit, leave a small gap between each one to make it easier to trim with scissors once glued. (Alternately you can be more selective about which parts of the decorated papers you want to be on the postcards. Have the decorated paper facing up, lay your card rectangle in the area you want to be on the postcard and do a rough cut larger than the 4- by 6-in. rectangle.) Use a glue stick to cover the entire side of the cut rectangle (glue the printed side of the cereal box, leaving the blank side free to write on, check which side of the cardboard rectangle is the neatest and glue the other one.) Lay the glued rectangle down on the back of the decorated paper and press firmly. Trim with scissors. You are ready to write your postcards — don’t forget the postage stamp at top right!
- Consider including information for voters on your postcard. For example: “Register and plan your vote! Check out PlanYourVote.org.”
California Voting Key Dates
- October 5, 2020: Counties will begin mailing vote-by-mail ballots.
- October 19, 2020: Last day to register to vote.
- Late October, 2020: The earlier you send in your ballot, the better.
- November 3, 2020: Election Day!
Reflect
After creating your postcards, consider the following questions:
- What was your favorite mark-making printing tool and why?
- What tool would you have liked to try that you didn’t have? What kind of mark do you think it would make?
- How do you feel about cutting up your art and sending it to people as postcards? Some artists might find that challenging. Can you come up with ideas to make this project easier for them?
Share
Perhaps you could take photos to document your postcard-printing project and show to friends to encourage others to help. If you make lots of postcards for the Get Out the Vote drive, maybe you could mail one to a friend or family member and tell them all about it — it’s fun to get mail!
We would love to see what you make too, so please tag us on any social platform using the hashtag #deyoungsters.
