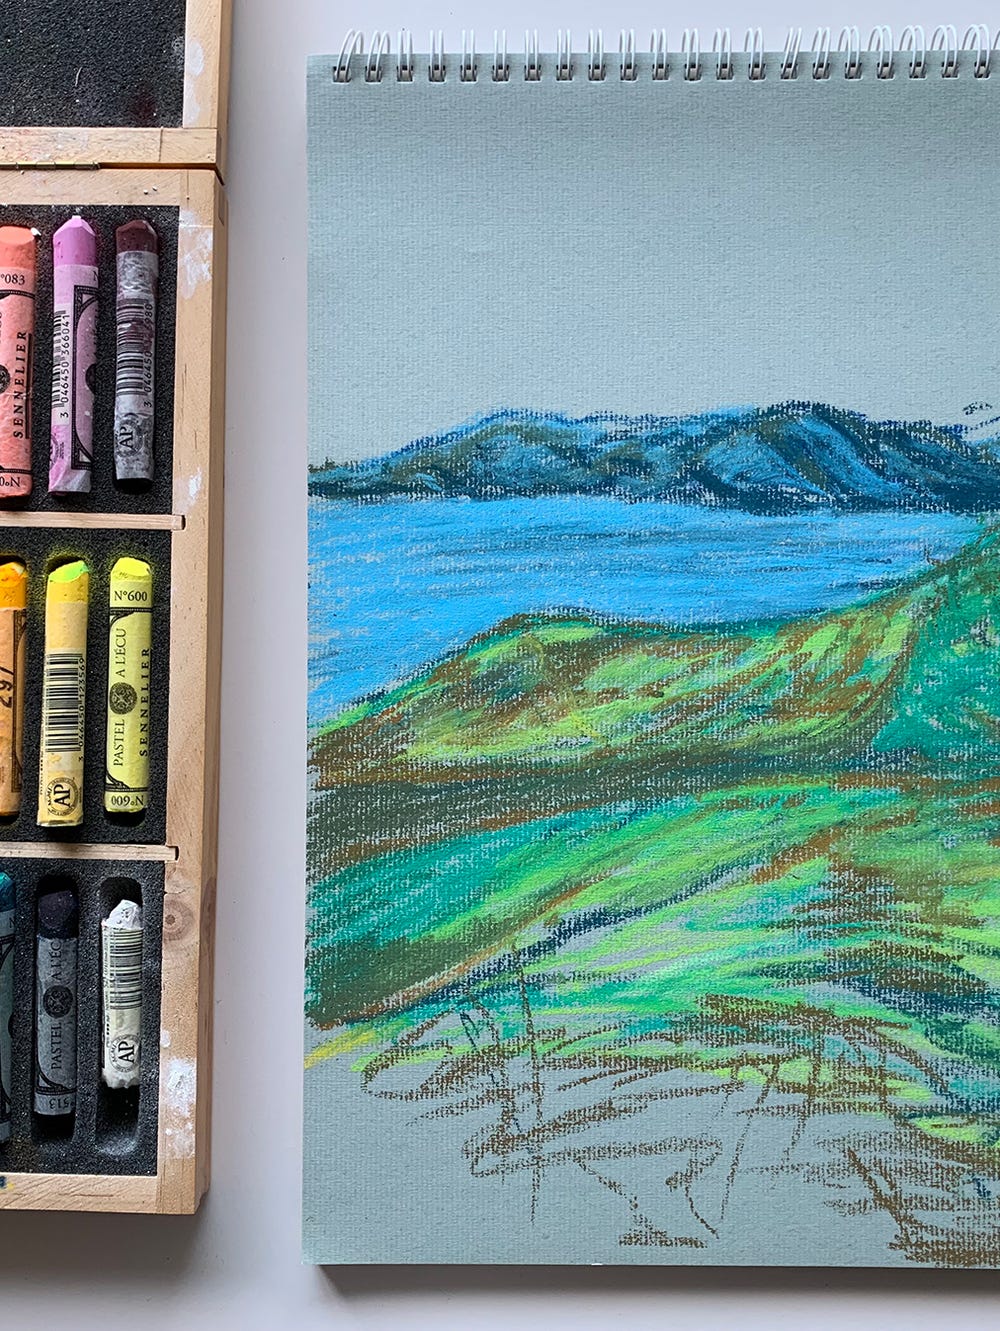
de Youngsters Studio: Landscape Art Making Inspired by "California Spring"
By Jill McLennan, Teaching Artist
May 1, 2020
At the de Young museum many of the objects on view tell us about California history, which is the focus of our fourth-grade visit. When at the museum, students closely observe Native American baskets, landscapes, portraits, and genre paintings that show everyday life. Students explore what these objects tell us about life in California by studying the resources shown, the artists’ choices, and the perspectives presented. The fourth-grade studio project helps students reflect on the landscapes that surround them and what this communicates about their own experiences as Californians.
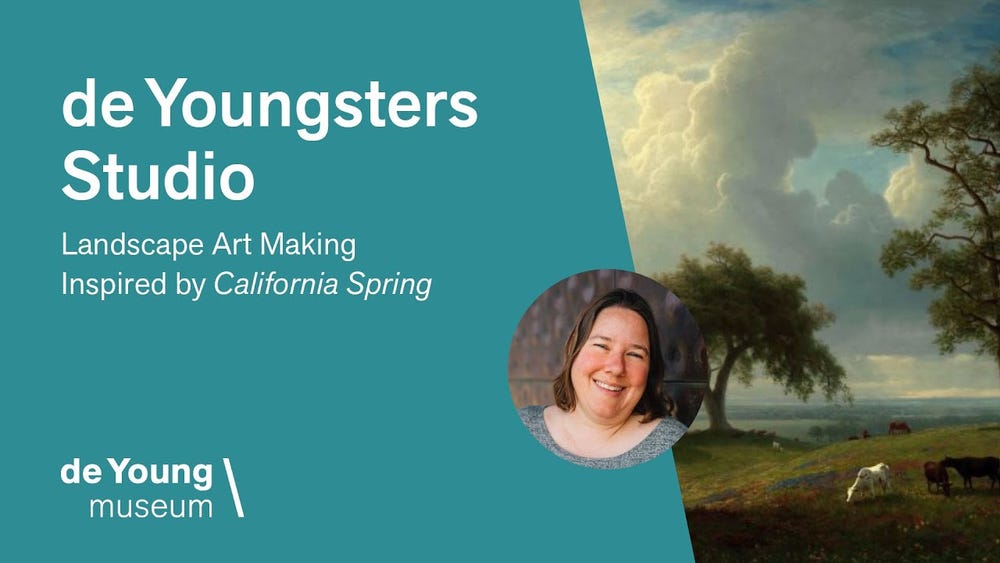
One source of inspiration for this project is Albert Bierstadt’s California Spring from 1875, painted after one of the painter’s several trips West. This large landscape gave curious East Coast viewers a glowing impression of California’s abundant natural resources. It is as important to observe what details are being presented as it is to notice what facts are left out.
Materials
- Heavy cardstock or watercolor paper, the size of a large postcard, 6 x 8 in.
- Pencil and eraser
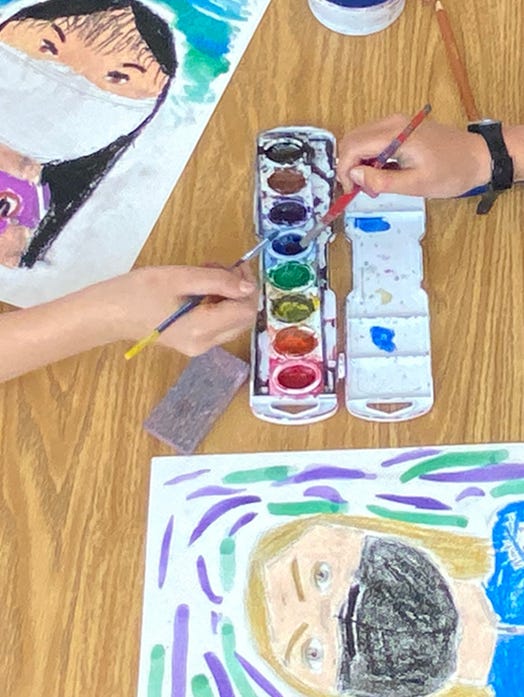
- Watercolor paints or gouache
- Brushes: big, medium, and small
- Water cup and a rag
Questions to consider
- What does a landscape tell us about a place?
- How can you show distance or depth on a flat page?
- When you look at a landscape, what do you notice about the background? What do you notice about the foreground?
- How can a landscape tell us about a place?
- How can a landscape painting act as an advertisement?
Steps
- Setting: Choose a setting for your landscape. You may want to look out the window or sit on your front porch and paint the view. Or you can work from a photograph that you took on a recent walk. Your setting should capture what California is to you by showing your neighborhood, your favorite view, or a park in your city or town.
- Sketch: Take five minutes to create a loose sketch that fills your entire page. Look at the farthest-away part of your landscape and follow the horizon line with your eyes. The horizon line is the line where the sky meets the land, trees, and buildings. Now notice the parts of the landscape that are closest to you in the foreground and sketch those. Continue to fill in the midground and background; notice how objects appear smaller as they go back in space. Remember to keep the drawing loose. You can add more detail in the next steps.
- Color: Study the colors in your landscape. What do you see? Are there primary colors — red, blue, yellow? Are there secondary colors — orange, green, purple? What colors will you need to mix to re-create your scene?
- Blocking: Using your big brush, create a wash using a little paint on your brush and a lot of water. Fill in large areas of the paper with light colors and let dry. Tip: If you get too much water on your painting you can use a paper towel to dab away the water.
- Layering: After your wash dries, use your medium and small brushes to add shadows and highlights. A good way to mix a shadowy color is to add a little bit of its complementary color. For example, the complement of green is red, so adding a little red to a green tree will make a nice shadow.
- Details: Finally add some details to your painting using the very tip of your small brush to make thin lines and marks. Add leaves on the trees and windows on the buildings.
Reflect
- After creating your landscape, consider the following questions:
- What elements or steps did you enjoy during the process?
- What challenges did you experience?
- If you could do this project all over again, what would you do differently? The same? Why?
Share
You can display your image in your home, hang it in the window for people to see outside, or put it in an envelope and mail it to someone who lives far away.
